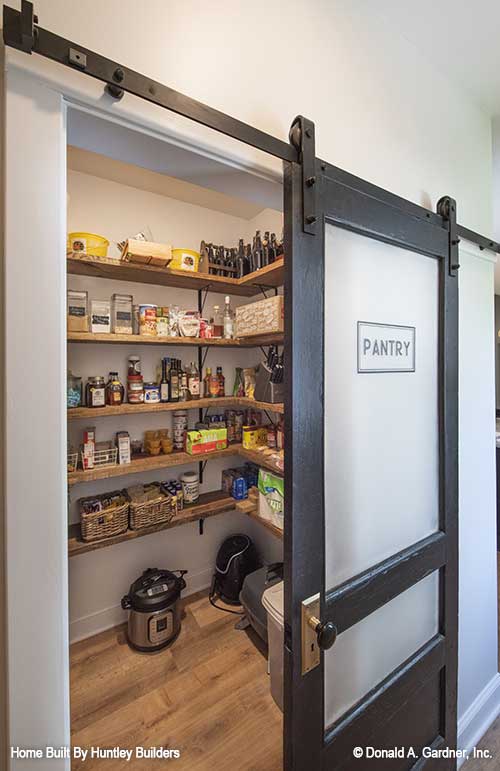
A well-organized pantry can transform your kitchen experience, making meal prep more efficient and grocery shopping more streamlined. Whether you have a spacious walk-in pantry or a compact kitchen cupboard, a thoughtful approach to pantry organization can maximize space and minimize stress. Here’s a step-by-step guide to help you achieve pantry perfection.
Step 1: Empty and Clean
Empty the Pantry: Start by taking everything out of your pantry. This will give you a clear view of the space and the items you have.
Clean Thoroughly: Wipe down shelves, sweep or vacuum the floor, and clean any containers or baskets. This fresh start sets the stage for effective organization.
Step 2: Sort and Declutter
Check Expiration Dates: Dispose of any expired items. This is also a good time to evaluate the usability of other items.
Group Similar Items: Sort items into categories such as grains, canned goods, snacks, baking supplies, spices, and breakfast items. This will help in creating a logical storage system.
Step 3: Plan and Measure
Assess Storage Needs: Look at the volume and types of items in each category to determine the kind of storage solutions you’ll need.
Measure Your Space: Measure the height, width, and depth of your pantry to ensure any new storage solutions will fit properly.

Step 4: Choose Storage Solutions
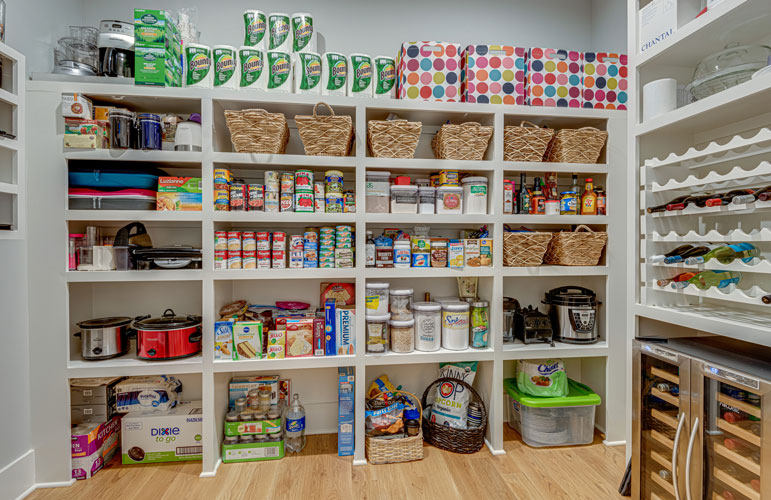
Clear Containers: Use clear, airtight containers for items like pasta, rice, and cereals. This keeps food fresh and lets you see what you have at a glance.
Labels: Label all containers. This helps in quickly identifying contents and maintaining order.
Bins and Baskets: Use bins and baskets for smaller items or packets that can easily get lost.
Tiered Shelving: Use tiered shelves for cans and jars to make everything visible and accessible.
Lazy Susans: A lazy Susan is perfect for corners or deep shelves, allowing you to rotate items for easy access.

Step 5: Organize by Zones
Create Zones: Designate specific areas for different categories. For example, have a baking zone, a snack zone, and a breakfast zone.
Consider Accessibility: Place frequently used items at eye level or within easy reach, while less frequently used items can be placed on higher or lower shelves.

Step 6: Maximize Space
Use Door Space: Install racks or hooks on the inside of pantry doors for storing spices, packets, or small kitchen tools.
Stack Shelves: If your pantry shelves are tall, use stackable shelf organizers to create additional layers and maximize vertical space.
Vertical Storage: Store items like baking sheets, cutting boards, and trays vertically to save space.

Step 7: Maintain Your Pantry Organization
Regular Checks: Periodically check for expired items and reorganize as necessary to maintain order.
Restock and Reorganize: When you buy new groceries, place older items at the front to ensure they get used first and take a moment to tidy up any disorganized areas.

Tips for Small Pantry Organization
Multi-Functional Furniture: Use kitchen furniture that doubles as storage, such as a kitchen island with built-in shelves.
Under-Shelf Baskets: Attach baskets underneath shelves to utilize unused space.
Compact Solutions: Use slim, stackable containers and vertical storage solutions to make the most of a small space.
Pantry organization not only makes your kitchen more functional but also brings a sense of calm and efficiency to your daily routine. By following these steps, you can create a pantry that is not only practical but also pleasing to the eye. Happy organizing!